
How does Mailform manage recurring invoices?
We've recently made some updates to the Recurring Invoices page - Thank you for all of your feedback, please read below to learn more
Mailform automatically pulls in your recurring invoice profiles into the integration for easy management of your ground mail invoices.
Here's how it works in a few easy steps:
Login to my.freshbooks.com and go to the Mailform Integration
Once your logged in and you've chosen the business you'd like to manage, click Integrations in the menu on the left side of the screen. If Mailform is not displayed below the Integrations option, follow the connection instructions here first. Now click on Mailform to be taken to the main integration page:
Note that by default you'll only see the last 30 days of unpaid invoices. In order to see all invoices you can click the filter icon on the right side of the Search box:
Go to the Invoice Profiles tab to manage Invoice Templates
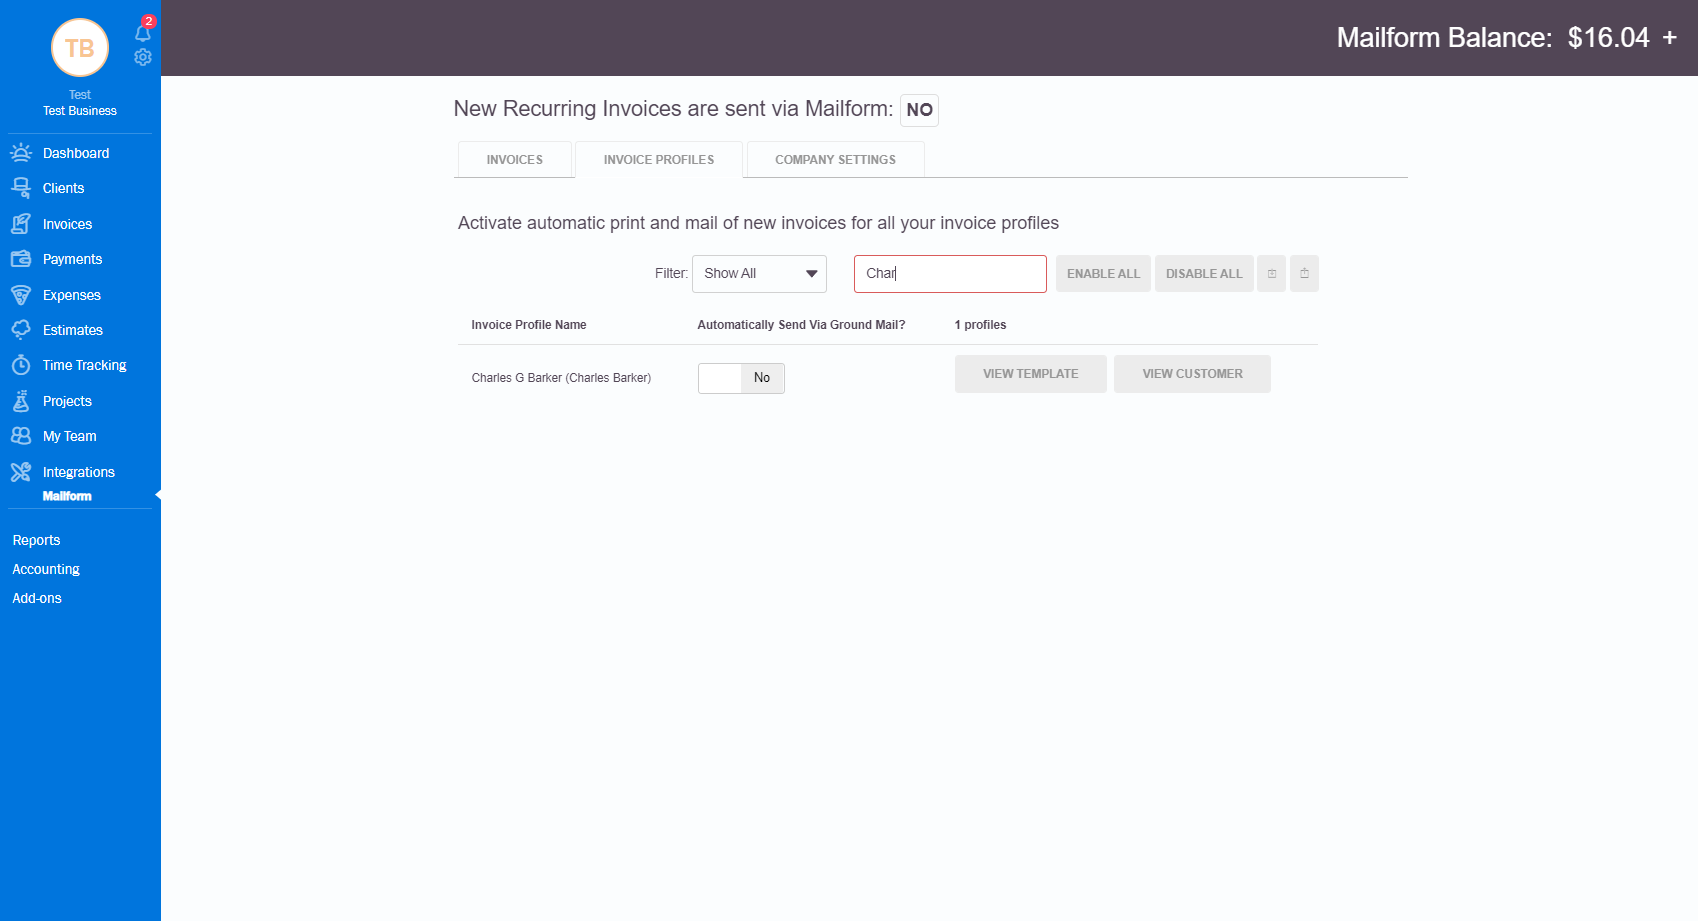
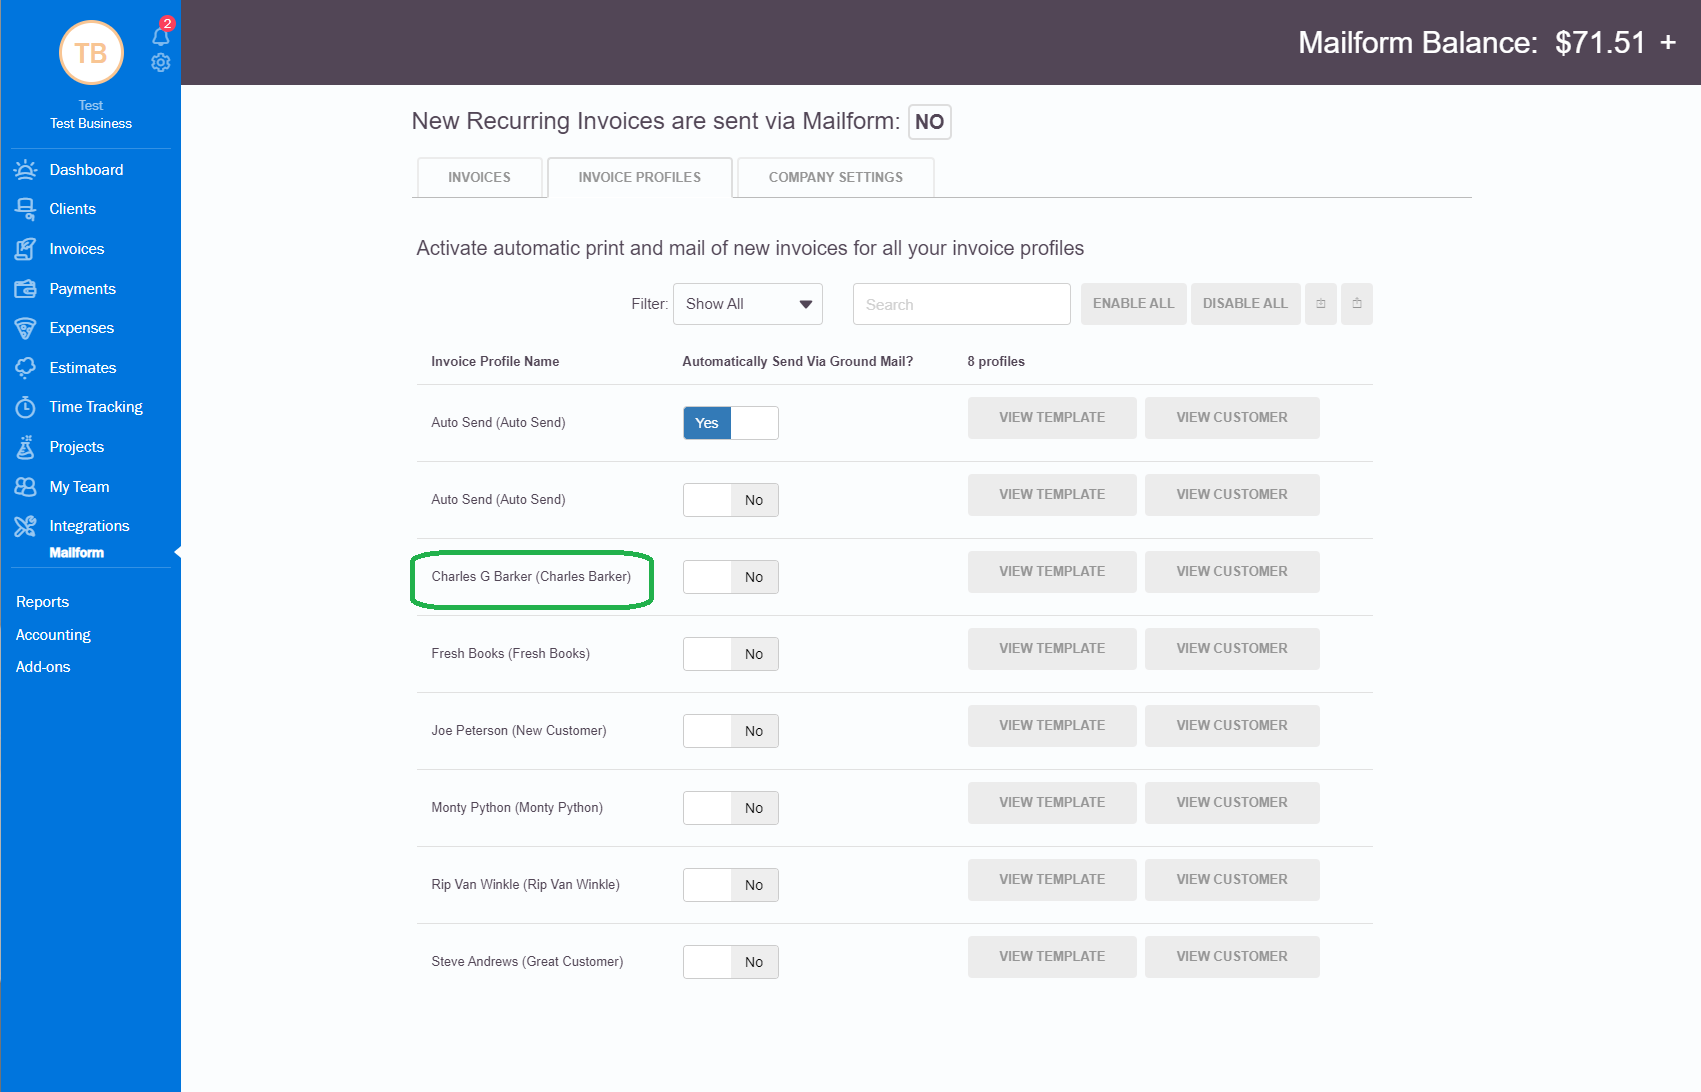
The new "Invoices Profiles" tab is now available at the top of the page. On this page you can elect which customers automatically generated Invoices will be sent via Mailform.
Invoice profiles can be disabled or set to no such that new invoices willbe sent only via email or whatever setting exists within Freshbooks
Invoice profiles can be enabled or set to yes such that new invoices will be sent via Mailform if credit is available and your global settings are set to Yes
Filter and Search for Invoice profiles
Enable and Disable in bulk
If you're migrating from Freshbooks classic, we will pull your customers preferences from the old system when you establish your Mailform account
Go to the Company Settings Page
In order for any recurring invoice profiles to be sent, you now need to "Enable Automatic Sending". This way you can start or stop sending invoices via Mailform at any point without having to change your customers preferences.
Enable QR Code Support - your invoices will include a simple QR code which will support mobile payment
Activate Ground Mail for new invoice profiles - when new invoice profiles are created, if this is set to Yes, the default setting on the "Invoice Profiles" tab will be set to Automatically send via Mailform, if not you'll have to do this manually on the Invoice Profiles tab
Enable Daily Failure Summary Emails - Switch this one to get a daily notification if any recurring invoices fail to send due to low balance or an address issue
Enable Email Receipts - Switch this on to receive an email for each manual or recurring invoice which is sent via Mailform. All people in the team would receive this email.
Enable Email Notifications - Switch this on to receive a notification when we receive if you have a tracking service and need to know when an invoice has been delivered.
NOTE: If you set Invoice Profiles to automatically Send Via Ground Mail (YES) make sure the Global Setting for Enable Automatic Sending is set to YES:
All changes made within Company Settings need to be Saved before moving to a separate tab!

Your Customers Company name will be presented in brackets, following the Customers Name, in this example the customers company is "New Company" and our customers name is Joe Peterson. You can also now search for your customers using the search box located next to the "Select All" button to filter the list.
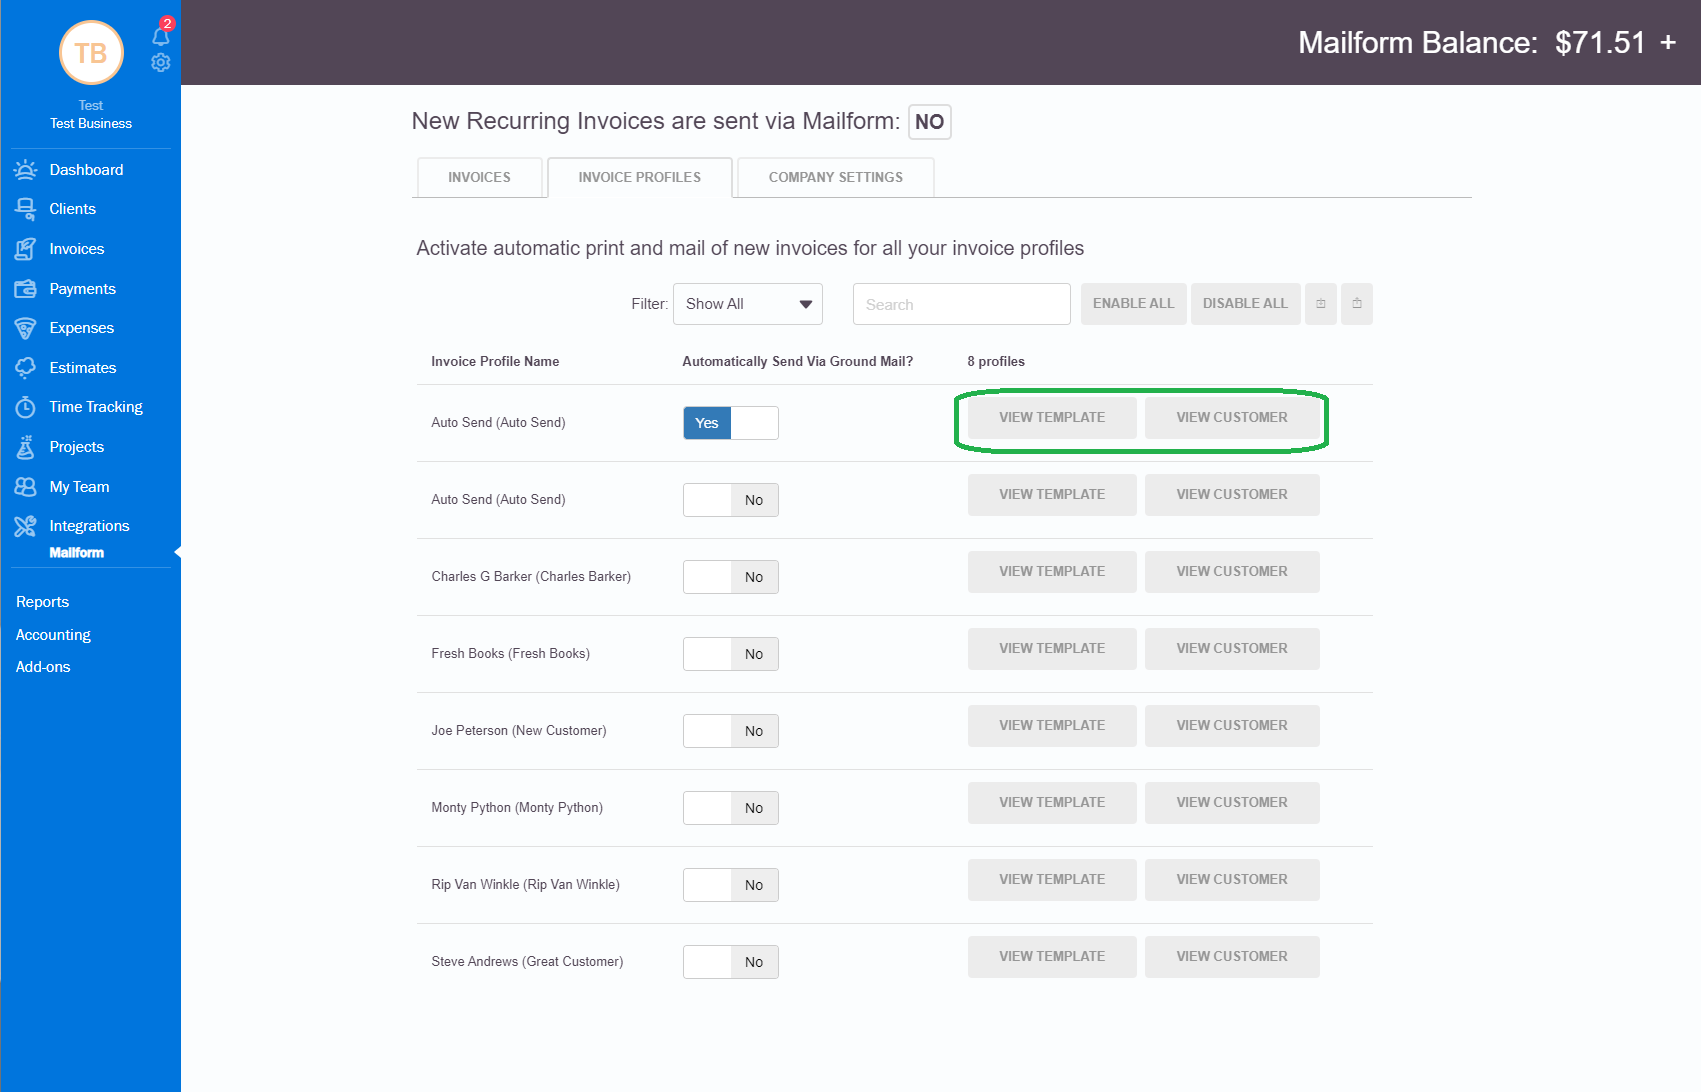
Clicking "View Template" or "View Customer" will open the recurring invoice template page and the client page respectively, should you need to make changes:
Click here for more information about Invoices and let us know if you have any questions!